

Skip to content

Flat-roof patio specialists

(08) 6186 7419

Patio type

Attached Flat Patios in Perth

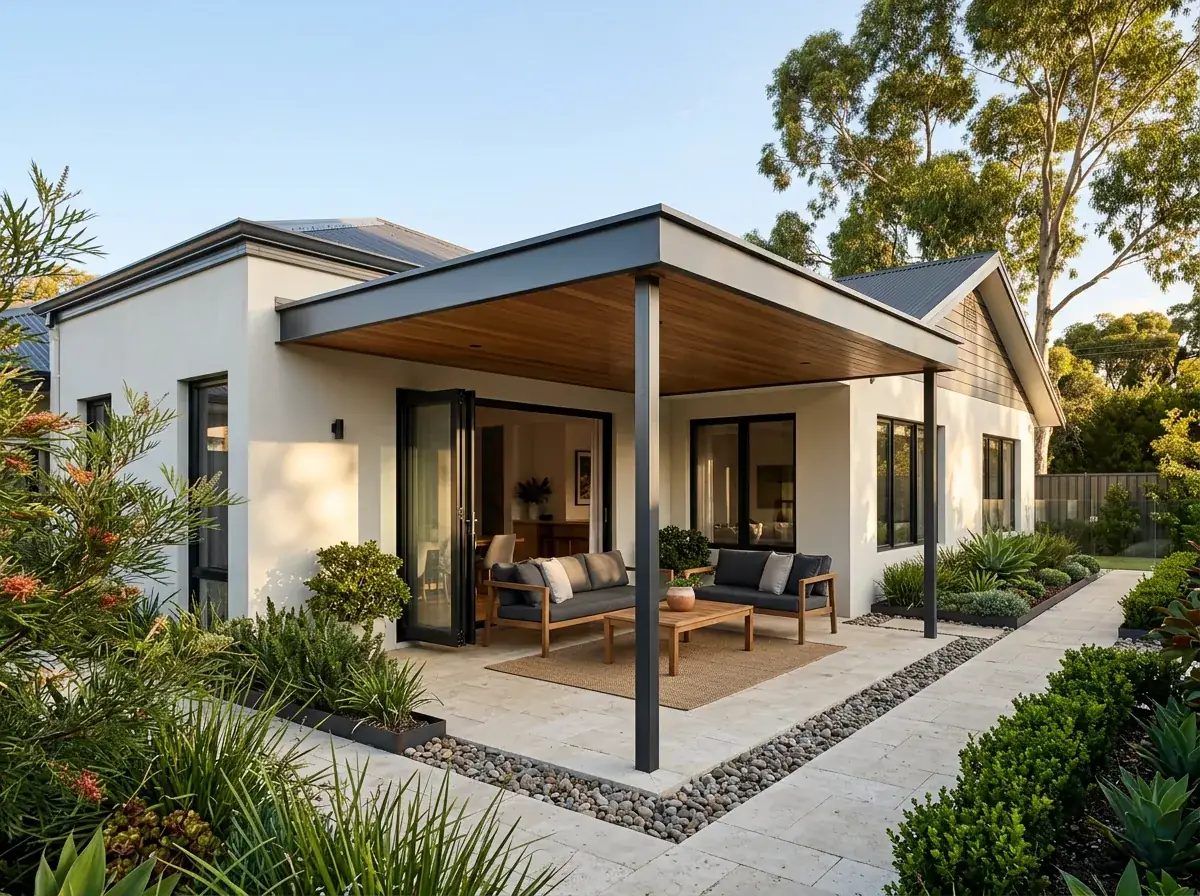
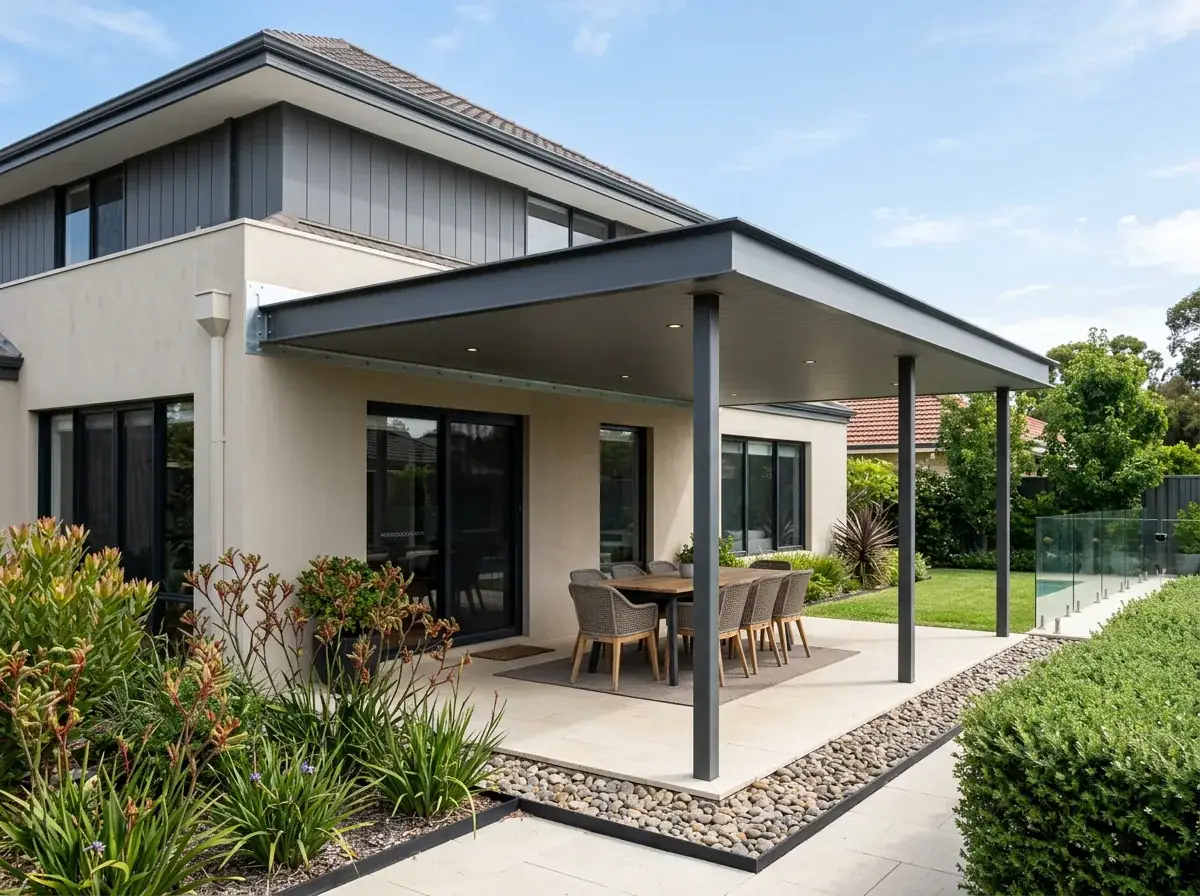
An attached flat patio joins straight to the house, with no gap between the two roofs. The covered area runs off your back door, and there is no separate structure to walk under. It is the most common patio in Perth by a wide margin.

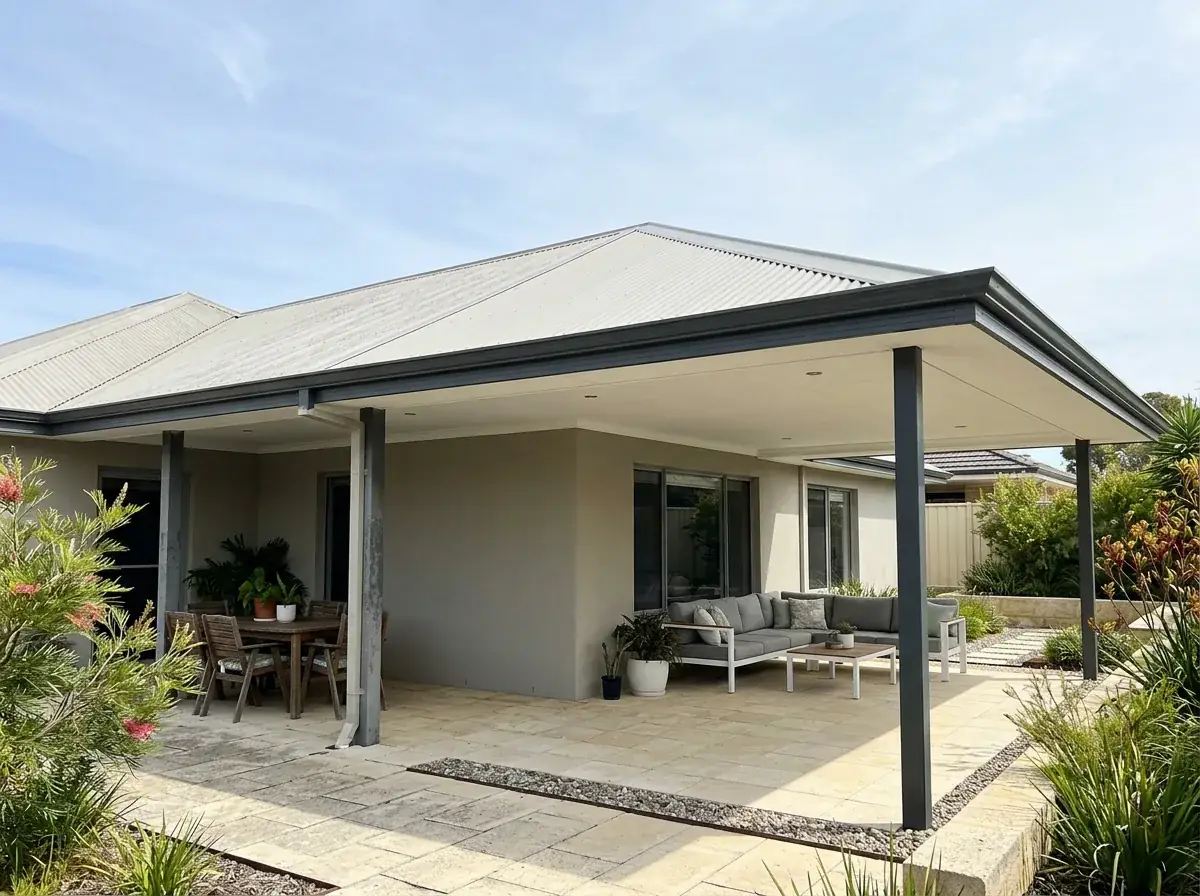
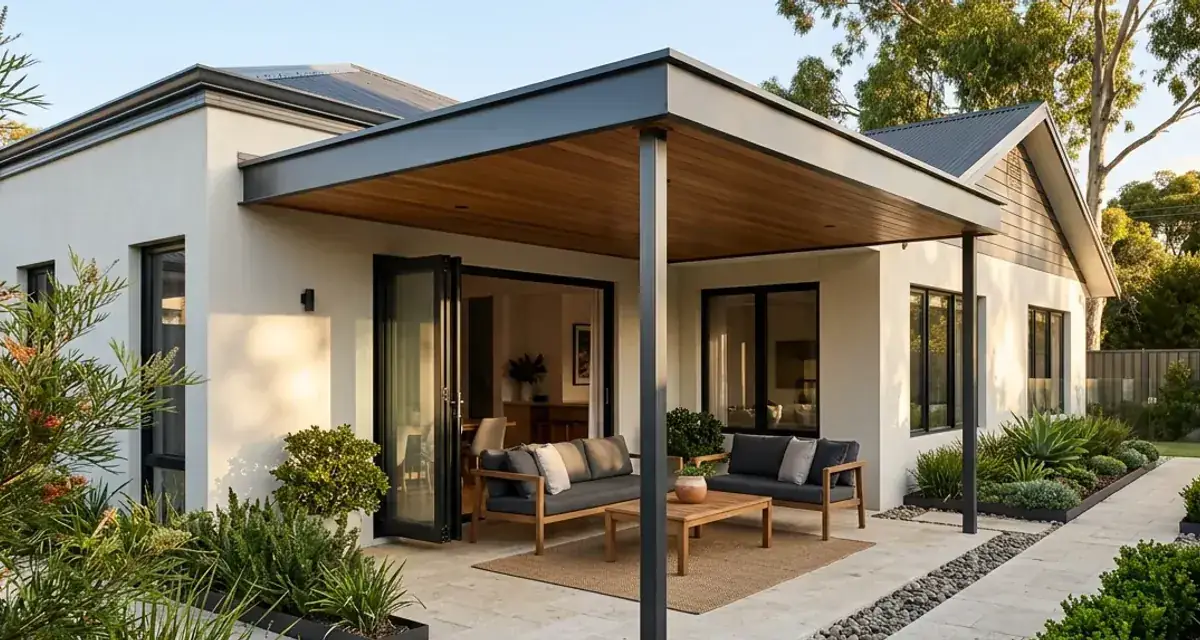
Attached flat roof patio bolted to the wall of a rendered Perth home, the level roofline sitting below the house's own roof over a paved lounge
  • Experience18 years in Perth
  • Engineer certifiedEvery span signed off
  • InsuredHomes and business
  • Warranty10-year workmanship

In short

What the house decides

An attached patio hangs off your house, so the house decides most of it. We check what it can carry before anything is drawn.

How it attaches is the decision that matters. Fascia, wall, or an independent row of posts beside the wall, each with different implications for height, cost and what happens to your existing roof.

Get that call wrong and you either lose head height you cannot get back, or you hang load off a fascia that was never built for it.

Attached Flat Patios built in Perth
Fixed to the wall, not standing in front of it. The flashing line is what makes it weatherproof.

The fixing

Fascia bracket, wall receiver, or its own posts beside the wall.

The height

Set off the eave, the window heads and the door thresholds.

The flashing

Dressed under tile or metal so the join stays watertight.

Your roof

What the new patio does to the gutter, the solar and the aerial.

Why usPerth & Peel
  • Engineer-certifiedWind loading and footing detail, certified before anything is ordered
  • Permit lodged by usWe put the application in with your local council
  • Flat roof specialistsIt is the whole business, not a line on a menu
  • One team throughoutThe person who measures is the person who hands it over

Specification

The flat patio build, in numbers

Every figure is confirmed at the measure. On an attached patio the fascia, the eave height and the wind classification at your address drive all of them.

Attachment options

Fascia bracket, wall-mounted receiver, or independent posts beside the wall

Wall fixing

Chemical anchors into solid double brick; stud or nogging fixings on framed walls

Fascia fixing

Brackets through fascia into rafter or truss ends, braced where undersized

Flashing

Dressed under two courses of tile, or under existing metal sheets

Head height

Set at the front beam after allowing for the full fall across the depth

Wind classification

Region A; N2 typical, N3 or higher on exposed coastal sites

Approval

Building permit with the attachment detail shown on the certified drawings

Free site measure

Want these numbers for your eave

Tell us what it would attach to and roughly how far out. We will measure the fascia and come back with real numbers.

Three ways to attach it

Fascia mounting brackets the patio off the fascia board at the eave. It keeps the patio roof tucked under the existing gutter line, which suits single-storey homes with reasonable eave height.

Wall mounting bolts a receiver channel directly into the brickwork above or below the eave. It gives you height control and a very strong fixing, which is why it is so common on Perth's double-brick housing.

Freestanding-beside is the third option. The patio stands on its own posts alongside the house with a small flashed gap between the two roofs, and it touches the existing structure barely at all.

  • Fascia mount: lowest cost, depends entirely on the rafter ends behind the fascia
  • Wall mount: strongest fixing on double brick, best height control
  • Freestanding-beside: no load on the house, useful on two-storey and heritage homes
Checking the fascia first

A fascia board carries a gutter and nothing else. It is not a structural member, so a fascia-mounted patio is really fixed to the rafter or truss ends sitting behind it.

That is fine when those ends are sound and sized properly. On older Perth homes they are sometimes undersized, previously cut for a past renovation, or simply not where the bracket needs them.

So the first job is often opening up the eave and looking. Where the ends are marginal we brace them or add tie-downs before hanging any uplift load, and where they are not usable we switch to a wall mount.

A builder who quotes a fascia mount without going into the roof space is guessing about the only part that matters.

Double brick versus framed walls

Perth is overwhelmingly double brick, which is an advantage here. Chemical anchors into solid brickwork give a wall fixing with real capacity, well suited to the uplift a flat roof generates.

The detail still matters. Anchors need proper embedment, correct hole cleaning and the right edge distances, and they must land in brick rather than in perpend joints or a cavity.

Framed and clad walls are different. There the fixing has to reach studs or a properly detailed nogging, and the number of fixings goes up accordingly.

Rendered walls hide what is underneath. We check before we quote rather than after we drill.

Sizes

Flat patio sizes and what they suit

Starting points, not a price list. What fits under your eave depends on the height you have to work with before the roof crosses a window head.

3.0m deepWhat it suitsA shaded strip along the back of the house for a table and a doorWorth knowingAround 100 mm of fall, so head height at the beam barely changes.
4.5m deepWhat it suitsThe depth most Perth rear patios end up atWorth knowingAbout 150 mm of fall. On a 2.4 m fascia the beam is still comfortable.
6.0m deep, under the eaveWhat it suitsA full outdoor room where the eave height allows itWorth knowingRoughly 200 mm of fall. This is where a flatter sheet profile earns its cost.
6.0m deep, raised above the eaveWhat it suitsA low-fascia home that cannot give up any more head heightWorth knowingThe flashing moves higher up the existing roof slope and the front beam grows.

None of these are fixed. Tell us where it would attach and we will tell you what fits.

Height and head clearance

Height is the constraint that decides most attached patio designs. The roof has to sit low enough to tuck under the eave or the window heads, and high enough that you are not ducking at the front beam.

The fall works against you here. A three metre deep patio at 1:30 drops a hundred millimetres from house to beam, and a six metre deep one drops twice that.

That arithmetic is exactly why flatter sheet profiles matter. Choosing a profile with a lower minimum pitch can buy back the head height that a corrugated roof would have cost you.

A raised flat roof patio solves it from the other direction. Where the existing roof allows, the patio can start above the eave rather than under it and pick up all the height it needs.

Flashing tile versus metal

On a tiled roof, the flashing goes up under the tiles. Two courses are lifted, the flashing is dressed underneath and over the patio sheets, and the tiles are relaid over the top.

On a Colorbond roof, it works the same way in principle. The apron tucks under the existing sheets and laps over the new roof, so water passes from one plane to the other without ever crossing a sealed joint.

What never works is a bead of silicone on top of the existing roof. Sealant perishes under WA sun, tiles move, and the leak reappears in the first hard winter.

Where the patio ties in below an existing gutter, a receiver flashing carries the water over the patio roof or into the patio gutter, depending on the design.

Two-storey homes and overlooking

Two-storey attachment needs care. A patio fixed under a first-floor window or balcony changes the water path off the upper roof, and the flashing has to account for it.

Overlooking rules also come into play. A raised patio deck or a structure close to a boundary can trigger privacy requirements under the R-Codes, particularly where a neighbour's outdoor living area is affected.

On many two-storey jobs, freestanding-beside is the cleaner answer. It avoids fixing into upper-storey structure and keeps the patio's loads entirely on its own footings.

Effect on your existing roof

Done properly, very little. Two courses of tile lifted and relaid, a flashing installed, and a row of brackets fixed to sound structure.

Done badly, it becomes the first thing a building inspector flags at sale. Cut rafter ends, sealant-only flashings and brackets fixed through fascia into nothing are all common findings on unpermitted work.

We photograph the attachment detail before it is covered. If the roof ever gets questioned, there is a record of what was actually done up there.

Gutters where two roofs meet

Attaching a patio under an existing gutter creates a decision. Either the house gutter stays and discharges onto the new roof, or it is removed and the water is carried across in a receiver flashing.

Leaving an old gutter to dump onto a new patio roof is the lazy option. It concentrates water at one point, overloads the patio gutter below it, and stains the new sheeting within a season.

The better detail is usually to remove the section of house gutter behind the patio and flash the two roofs into one drainage path. It costs a little more, and it is why some patios never leak.

Solar panels and aerials

Solar arrays complicate an attachment. Panels sitting low on the roof plane can conflict with a raised patio or with the flashing line, and relocating them is an electrician's job rather than a builder's.

Air conditioning is the other one. Ducted units, evaporative coolers and their ducting all live in the roof space where fascia brackets and tie-downs need to go.

So we look in the roof space at the measure. Finding the ducting where the bracket wanted to be is much cheaper on paper than on the day.

Will your fascia carry one?

We can usually tell in ten minutes on site. The visit is free and there is nothing to sign at the end of it.

What's included

What a quote covers

Written out rather than implied. The brackets, the flashing and the fix back to the house are all in the price, and anything outside the three columns is quoted separately.

At the house

  • Eave opened and rafter or truss ends inspected before quoting a fascia mount
  • Bracing or tie-downs added where the existing ends are marginal
  • Chemical anchors into solid brickwork with correct embedment and edge distances
  • Attachment detail photographed before it is covered

The structure

  • Roof height set at the house end first, then worked forward to the beam
  • Purlins at the spacing the chosen sheet profile requires
  • Posts and footings sized to the uplift case for your wind class
  • Existing house gutter resolved rather than left dumping onto the new roof

Approval

  • Setbacks, open space and overshadowing checked under the R-Codes
  • Attachment detail drawn on the certified structural drawings
  • Certificate of design compliance from a registered building surveyor
  • Building permit lodged with your local government

How it runs

Enquiry through to handover

Five steps, in that order. The fascia check happens before anything is ordered, and the council step is the one nobody can put a day count on.

  1. Look in the roof space

    Before anything is quoted we open the eave and see what is actually behind the fascia. Ducting, solar cabling and previously cut rafter ends all live where the brackets want to go.

  2. Choose the attachment

    Fascia, wall or independent posts beside the house, decided on evidence rather than habit. That call sets the roof height, so it comes first.

  3. Drawings and engineering

    The attachment detail is drawn, certified and lodged with the permit application. It is the first thing the building surveyor looks at.

  4. Fix and flash

    Brackets or the wall receiver go on, the frame follows, then two courses of tile lift and the flashing is dressed underneath. Nothing gets sealed over the top.

  5. Gutters and handover

    The two roofs are brought into one drainage path rather than left to argue with each other. Then the certification paperwork.

Recognise this

Three situations we get called about

Most attached flat patios enquiries start with one of these. If yours is on the list, we have solved it on a Perth house before.

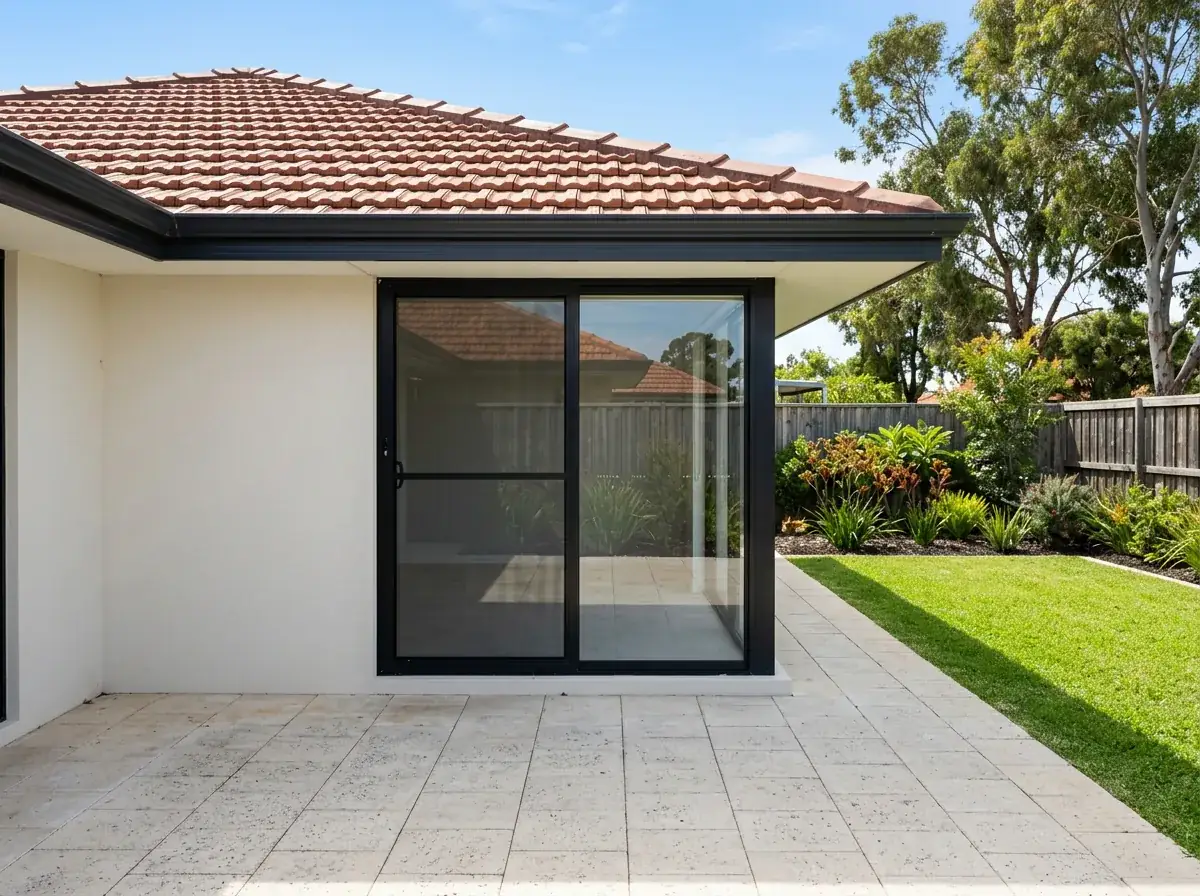
The rear of a Perth home with a very low tiled eave, the gutter sitting close above the sliding door with almost no height between them, and the paving below completely empty

The low fascia

On a single-storey brick and tile with a 2.2 m eave, a six metre deep patio at standard fall puts the front beam somewhere you will hit your head. Wall mounting above the eave, or a flatter profile, is what recovers it.

The two-storey wall

Fixing into upper-storey structure and re-routing water off the upper roof is work you can avoid entirely. Standing the patio on its own posts alongside the wall looks attached from the ground and touches nothing.

The eave a previous owner altered

Cut rafter ends and a fascia that has been packed or re-fixed are common on older Perth homes. Once we can see it, the answer is either bracing before the brackets go on, or a wall mount instead.

Going deeper

Guides worth reading first

This page is about attaching it to the house. Where a question needs more room than that, we have written it up properly.

Frequently Asked Questions

It prices per square metre like any patio, around $200 to $340 for flat Colorbond in Perth. Attaching to a fascia that can carry the load is the cheap case. A wall fix, or its own posts beside the house, costs more because there is more frame in it.

Usually yes, but the fascia itself carries nothing. The brackets must reach the rafter or truss ends behind it, so we check those first. If they are undersized or previously cut, we brace them or switch to a wall-mounted fixing instead.

On Perth's double-brick homes, wall mounting generally gives a stronger fixing and better control of roof height. Fascia mounting is cheaper and keeps the patio neatly under the eave. The right choice depends on your eave height and the condition of the rafter ends.

It should not. The work involves lifting two courses of tile, installing a flashing underneath and relaying them, or tucking a flashing under existing metal sheets. Damage happens when a flashing is sealed over the top instead of installed underneath.

That depends on depth and fall. At 1:30, a three metre deep roof drops about one hundred millimetres from the house to the front beam, and six metres drops roughly double. Flatter sheet profiles reduce the loss where head height is tight.

Yes, though freestanding-beside is often the better detail. It avoids fixing into upper-storey structure, keeps all load on its own footings, and simplifies how water from the upper roof passes over the new patio. It also leaves the existing facade untouched.

A raised flat roof patio starts above the existing eave rather than tucking under it, which recovers head height on homes with a low fascia. It requires flashing into the roof higher up the slope and usually a taller front beam.

Yes. An attached patio is still a Class 10a structure requiring a building permit from your local government, with engineered drawings and a certificate of design compliance. The attachment detail is one of the first things the building surveyor and the engineer will look at.

Free site measure

Whether your fascia can carry it decides the price and the height. We come out, check it and quote, at no cost.

Book a Measure(08) 6186 7419

Get it drawn to your eave line

Tell us where the space is and we will bring back a height that works with your windows and doors.


Get a quote

Tell us about the job

Send through the basics and we will arrange a time to measure up. No obligation, no pressure.

Quote request

Fill these in and we will ring you to book the measure. Only the last box is optional.

Pick the closest one. We will sort the detail on site.

Quick check

Loading a new icon check…

These details come to the office and stay there. We do not sell them or pass them on. Privacy policy

Rather talk

(08) 6186 7419
  • Monday to Friday 07:00 to 17:00
  • Saturday 08:00 to 14:00

Site visits by appointment, including after hours.