

Skip to content

Flat-roof patio specialists

(08) 6186 7419

Patio type

Flat Patio Installation in Perth

Flat patio installation is the part where a drawing becomes a structure. Setout, footings, steel, sheeting, flashing, gutters and stormwater, in that order, with each stage checked before the next one covers it.

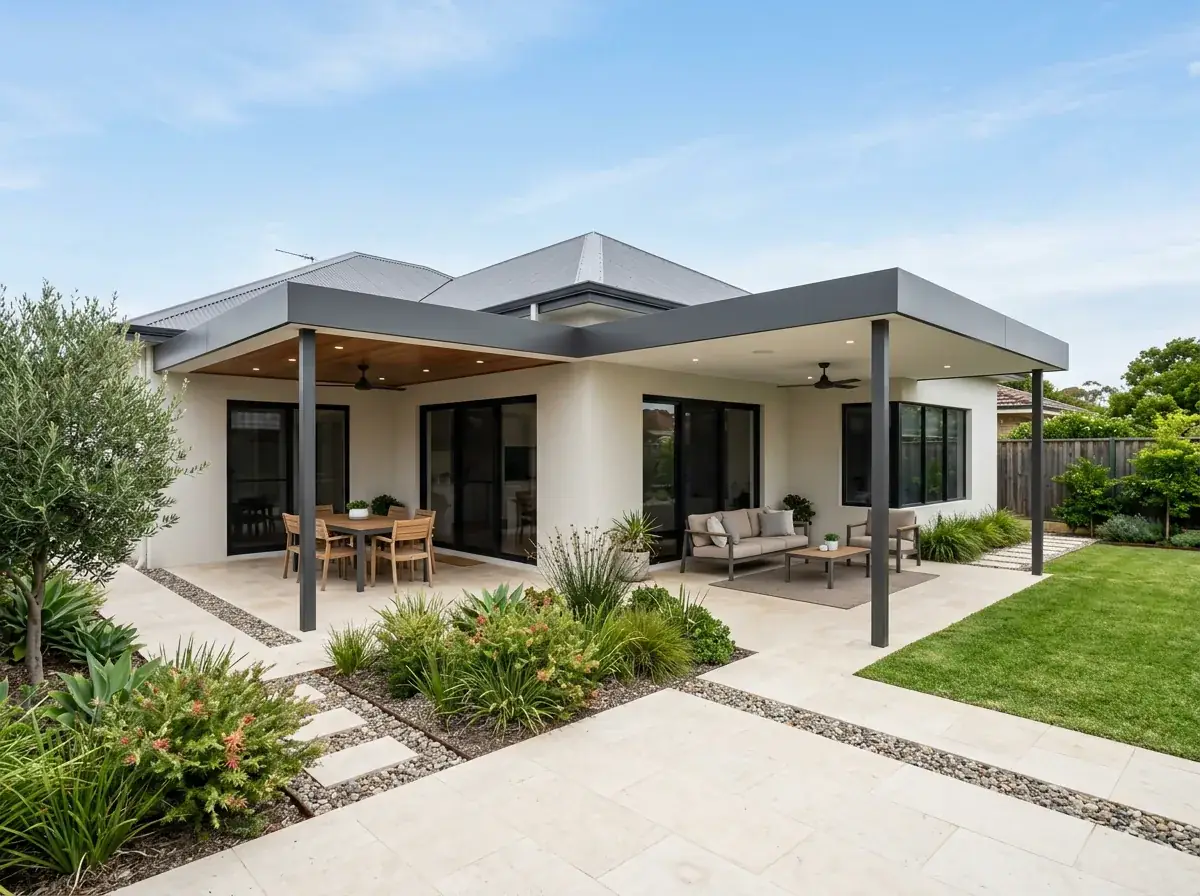
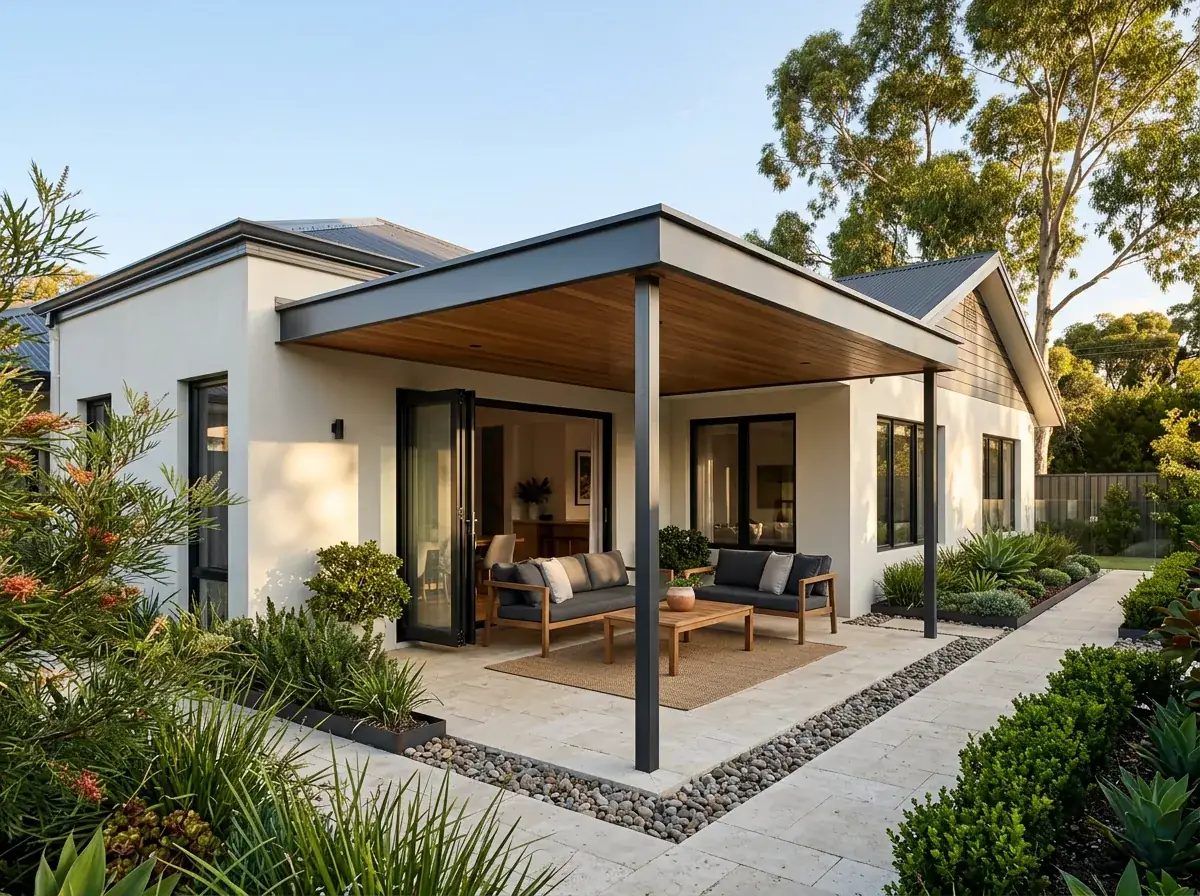
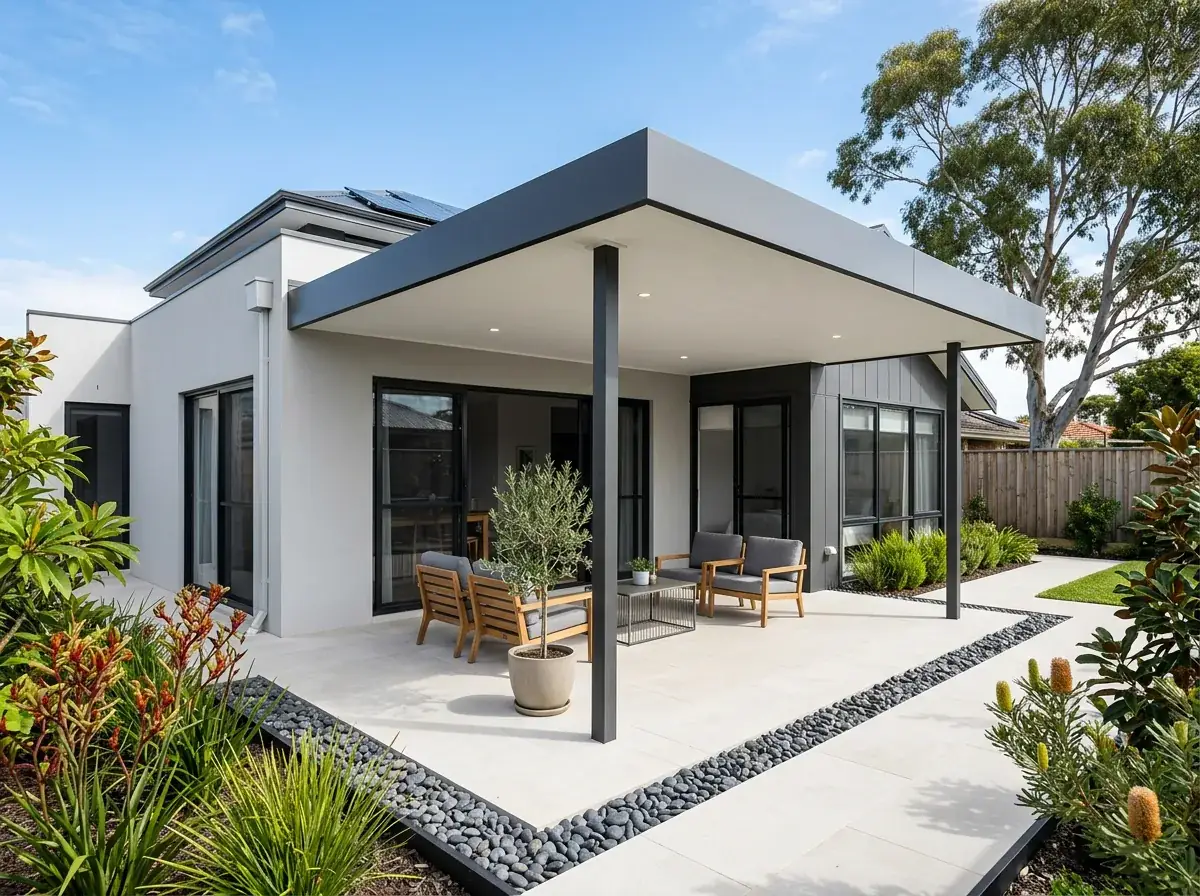
A newly finished flat roof patio on a rendered Perth home, crisp level roofline and timber lined ceiling over a freshly paved alfresco
  • Experience18 years in Perth
  • Engineer certifiedEvery span signed off
  • InsuredHomes and business
  • Warranty10-year workmanship

In short

What decides your install

From the first measure to the last screw, on your house rather than on a standard drawing. We install the patio, lodge the permit and hand it over finished.

Most of what goes wrong on a patio is buried by the following day. A footing poured shallow, a bracket fixed into fascia instead of rafter, a flashing laid over tiles rather than under them.

So the sequence is not a formality. It is the whole job.

Flat Patio Installation built in Perth
Finished and handed over. Fascia, gutter, ceiling and lighting all done before we call it complete.

The fascia

Whether it can carry the load, and what we do when it cannot.

The span

How far the roof reaches before it needs a post under it.

The fall

Enough to drain properly, shallow enough to keep your head height.

The permit

Lodged with your council, with certified drawings behind it.

Why usPerth & Peel
  • Engineer-certifiedWind loading and footing detail, certified before anything is ordered
  • Permit lodged by usWe put the application in with your local council
  • Flat roof specialistsIt is the whole business, not a line on a menu
  • One team throughoutThe person who measures is the person who hands it over

Specification

The flat patio build, in numbers

Every figure here is set at the measure. On an install the three that move most are your fascia height, the span you want left clear, and the wind classification at your address.

Typical install time

2 to 5 days on site for a standard attached patio

Footings

Engineered concrete pads, commonly 450-600 mm, or chemical anchors to an adequate slab

House connection

Wall bracket, fascia bracket, or independent posts beside the wall

Flashing

Under existing tiles or metal sheets, never surface-sealed over the top

Stormwater

Connected to a soakwell sized to the added roof catchment

Approval

Building permit lodged and certified before work begins

Handover

Certification paperwork supplied, site cleared of offcuts and swarf

Free site measure

Want these numbers for your place

Send us the rough size and where it would go. We will come out, measure properly and put a real figure on it.

Site measure and documentation

The install starts weeks before anyone arrives with tools. We measure the fascia height at both ends, take levels across the ground, locate services and note the existing roof type and pitch.

Those numbers drive everything downstream. The roof fall, the beam height above the paving, the post lengths and the flashing detail all come out of the measure rather than an assumption.

You get drawings to check. If the head height at the front beam is going to be lower than you pictured, that is the moment to find out.
Setout and footings

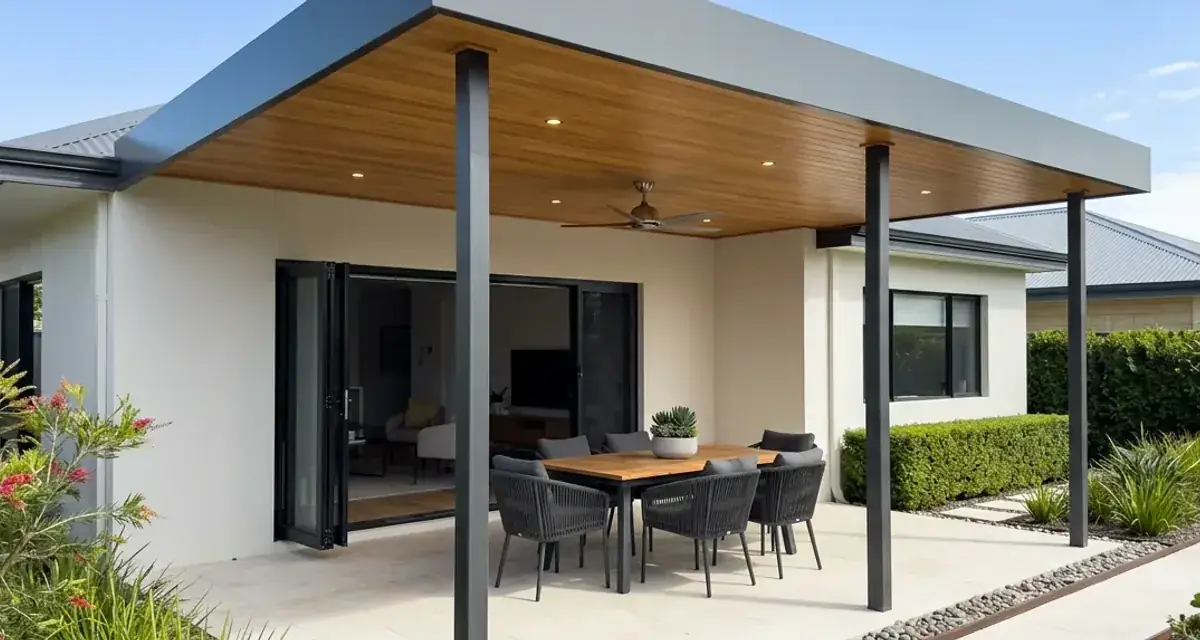
Day one on site is string lines and a laser level. Post positions are marked from the house, squared, and checked against the drawing before a single hole is dug.

Footings are then excavated to the engineered size. Pads in the 450 to 600 mm range cover most jobs, but sand, fill and proximity to an existing slab edge all push that deeper or wider.

Where an existing slab is thick and sound, posts can be bolted down with chemical anchors instead. Where it is a thin patio slab poured on sand, we core through it and pour a proper footing beneath.

Concrete then needs time. Rushing steel onto green footings is a shortcut that shows up years later as a post that has moved.

Posts, beams and the house connection

Posts go up plumb and to height, then the front beam is lifted and fixed. This is the point where the roofline you have been imagining becomes a real line across your back yard.

At the house end, one of three details applies. A wall bracket bolted into brickwork, a fascia bracket reaching through to the rafter or truss ends, or an independent row of posts standing beside the existing wall.

Old fascias sometimes need work first. If the rafter ends are undersized or the fascia has been previously modified, we brace or pack them before hanging any load off them.

Purlins then run between the house and the beam at the spacing the roof sheet requires. That spacing is set by the profile, not by eye.

Sizes

Flat patio sizes and what they suit

Starting points for an install, not a price list. What fits comes off your eave height and how far the roof can reach before it needs a post under it.

4.5m x 3.0m attachedWhat it suitsA single-bay install on clear ground with vehicle accessWorth knowingBeam length at this size still comes through a 900 mm side gate by hand.
6.0m x 3.6m attachedWhat it suitsThe most common install we run across the metro areaWorth knowingTwo bays, one intermediate post, and a full day of setout before anything is dug.
6.0m x 3.6m over an existing slabWhat it suitsA yard already paved or slabbed where nobody wants it broken upWorth knowingThin slabs get cored through and pads poured beneath, then the surface reinstated.
8.0m x 4.5m, restricted accessWhat it suitsA rear yard reachable only on foot past the side of the houseWorth knowingBeam length becomes a real design constraint when nothing can be craned in.

None of these are fixed. Tell us the space and we will tell you what can be installed under it.

Money, before you ask

What a flat patio installation costs in Perth

Most patio builders will not put a number on a page. Here is the going rate per square metre, and the three things that move it.

Flat or skillion Colorbond

$200 – $340 per m²

Single-skin sheet on a fascia that can carry the load. The common case.

Insulated panel roof

$350 – $600 per m²

Foam core between the sheet and your ceiling. Finished underside, no purlins.

Polycarbonate or clear

$220 – $360 per m²

Light through the roof. Best as a strip in a bay or two, not a whole patio.

Approximate Perth pricing based on our typical projects, GST included. Not a quote. Your final price is confirmed after a site measure.

Small · about 15 m²

$4,500 – $9,000

One clear bay, single-skin sheet, attached to a fascia.

Medium · about 30 m²

$10,000 – $22,000

The common ask. Insulated panel and a wider span both push it up.

Large · about 50 m²

$18,000 – $38,000

Insulated, high-set or flyover, usually with its own drainage run.

  • Covered area, because every extra square metre carries roof, frame, footings and labour
  • Clear span, because a wide bay needs a deeper beam and beam depth is where the money goes
  • What it fixes to — a fascia that can carry the load is the cheap case, its own posts is not
  • A slab, if there is nothing to build on: $80 to $160 per m² on top

Sheeting, flashing and getting it watertight

Sheets are laid to the fall, lapped in the direction of the prevailing weather, and fixed at the manufacturer's pattern. Fixing into every second rib on a windy coastal site is not the same specification as an inland job.

Flashing into the existing roof is the highest-risk detail on the whole build. On tile, we lift two courses and dress the flashing up under them; on metal, the flashing goes under the existing sheets and over the new ones.

Anything sealed on top of an existing roof is a temporary fix pretending to be permanent. Silicone perishes, tiles move, and the water finds it.

Barge and fascia capping then closes the edges, and the whole roof gets swept clear of swarf. Steel filings left on Colorbond rust into the paint within weeks.

Gutters, downpipes and stormwater

The gutter is sized to the roof area and the fall, not fitted by habit. A wide roof draining to one downpipe will overflow in a Perth winter burst regardless of how neat it looks.

Downpipes are positioned where they suit the house and the soakwell, usually at a post so the pipe can be run tight to the steel and half-disappear.

Stormwater then goes to a soakwell sized for the added catchment, as councils require on-site disposal. That connection is part of the job, not an afterthought for the owner to arrange.

Site conditions that matter

Access decides the method. A rear yard reachable only through a 900 mm side gate means every post, beam and sheet is carried in by hand, and the beam length becomes a real constraint.

Soil varies sharply across the metro area. Deep Bassendean and Spearwood sands, limestone in the western suburbs, and clay and rock through the foothills all change the excavation and the pad size.

Coastal sites change the materials. Within a couple of kilometres of the ocean we specify a marine-grade finish and matched fixings, because mixing metals near salt air is a slow, expensive mistake.

Timeframe, site tidiness and handover

A standard attached flat patio is generally a two to five day install once the permit is issued, plus curing time for footings before the frame goes on.

Bigger structures, difficult access and insulated panel roofs shift that. We give you a realistic sequence at the start and tell you which days are noisy and which need the yard clear.

At handover you get the certification paperwork and a walk-through of the finished structure. Offcuts, swarf and packaging leave with us.

Who turns up, and when

Most flat patio installs run with a small crew. Setout and footings first, then the frame, then the roof, gutters and flashing, with the same people carrying the job from start to finish.

Licensed trades come in for their own work. Electricians for lighting and power, gas fitters for a built-in barbecue, and a licensed removalist where asbestos is present.

You get told who is coming and when. Nobody turns up unannounced, and the site is left safe and swept at the end of each day.

Ready to get yours installed?

The site measure is free. We look at the fascia, the levels and the fall, then quote the job in front of us.

What's included

What a quote covers

Written out rather than implied. Everything the install needs is in the three columns, and anything outside them is quoted on its own.

Before we start

  • Fascia heights, ground levels and existing roof type recorded
  • Services located and post positions adjusted around them
  • Engineering for your wind classification and site conditions
  • Building permit lodged, complete, first time

On site

  • Setout squared from the house and checked against the drawing
  • Footings excavated to the engineered size and left to cure
  • Frame erected plumb, purlins at the sheet profile's spacing
  • Sheets laid to fall and lapped into the prevailing weather

At handover

  • Flashing installed under the existing roof covering
  • Gutter, downpipes and soakwell connection completed
  • Roof swept clear of swarf so filings cannot rust into the coating
  • Approval and certification documents handed over

How it runs

Enquiry through to handover

Five steps from the first call to handover. We will not put a day count on the council step, because that one sits with your local government rather than with us.

  1. Measure and document

    The install starts weeks before anyone arrives with tools. Every number that drives the build comes off that measure rather than out of an assumption.

  2. Permit issued

    Nothing is dug until the permit is in hand. We control whether the application is complete, which is the main cause of delay when it goes wrong.

  3. Setout and footings

    Day one is string lines, a laser level and marked post positions checked against the drawing. Holes follow, concrete follows that, and then the site waits.

  4. Frame and roof

    Posts go up plumb, the beam is lifted, and the purlins run back to the house at the spacing the sheet requires. Sheeting and flashing close the roof.

  5. Water and walk-through

    Gutters, downpipes and the soakwell connection go in as part of the job, not as a separate trade for you to chase. Then a walk-through and the paperwork.

Recognise this

Three situations we get called about

Most flat patio installation enquiries start with one of these. If yours is on the list, we have solved it on a Perth house before.

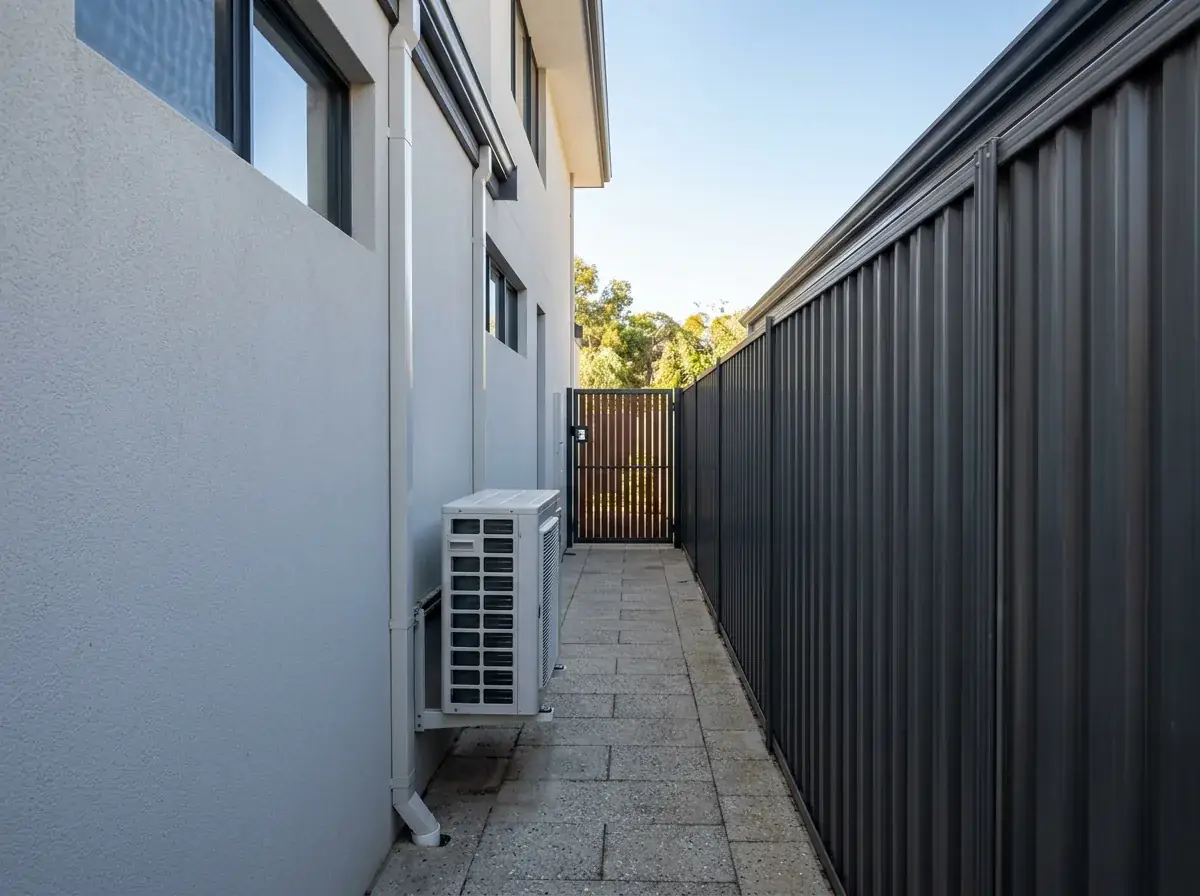
A side passage barely a metre wide between a rendered house wall and a Colorbond boundary fence, narrowed further by an air conditioning unit and a downpipe, with a gate at the far end

The side gate that decides the beam length

A rear yard reachable only through a 900 mm gap means every post, beam and sheet is carried in by hand. That constraint is worth knowing at design stage rather than on delivery morning.

The rafter ends nobody has looked at

A fascia mount is really a fixing into the rafter or truss ends behind the board. On older homes those ends are sometimes cut, undersized, or simply not where the bracket wants them.

The winter job that has to stay dry each night

Once the flashing line into your existing roof is open, the house is exposed. We stage the sequence so it closes every evening, even if that means fewer tasks per visit.

Frequently Asked Questions

Perth builders publish $200 to $340 per square metre for a flat Colorbond roof supplied and installed, and $350 to $600 for insulated panel. A 30 square metre patio typically lands between $10,000 and $22,000. Those are market figures checked in August 2026, not a quote from us.

A standard attached flat patio usually takes two to five days on site once the permit is issued, plus curing time for the footings before the frame goes up. Larger spans, tight access and insulated panel roofs add days to that.

Not for the whole build, but access to the yard and to power is needed each day. We confirm which days are noisy, which need vehicles close to the house, and whether the yard has to be clear of furniture.

Sometimes. A thick, sound, reinforced slab can take chemical anchors, but a thin patio slab poured on sand cannot carry the uplift. In that case we core through the slab and pour a proper footing underneath, then patch the surface.

A flashing is installed under the existing roof covering. On a tiled roof we lift two courses and dress the flashing up beneath them; on a metal roof it tucks under the existing sheets. Nothing is sealed over the top with silicone.

Footing holes and material handling do disturb the immediate work area, so we agree the access route before we start. Existing paving can usually be lifted and relaid at post positions rather than broken through and patched, and garden beds are protected where the route runs past them.

Yes. Perth councils require roof water to be disposed of on site, so the downpipes are connected to a soakwell sized for the new roof area. That work is part of the install rather than something you have to arrange separately with another trade afterwards.

You receive the approved building permit documents and the engineer's structural certification for the completed structure. Keep them with your house records, as they are commonly asked for at sale, during a bank valuation, or when an insurer assesses a storm damage claim.

Free site measure

An install cannot be priced off a photo. We look at the fascia, the slab and the fall of the ground, then quote it, at no cost.

Book a Measure(08) 6186 7419

Want the number for your place?

Tell us the space and how you want to use it. We will price the patio your house can actually carry.


Get a quote

Tell us about the job

Send through the basics and we will arrange a time to measure up. No obligation, no pressure.

Quote request

Fill these in and we will ring you to book the measure. Only the last box is optional.

Pick the closest one. We will sort the detail on site.

Quick check

Loading a new icon check…

These details come to the office and stay there. We do not sell them or pass them on. Privacy policy

Rather talk

(08) 6186 7419
  • Monday to Friday 07:00 to 17:00
  • Saturday 08:00 to 14:00

Site visits by appointment, including after hours.